Two years ago I made these valances for the bay windows in my morning room:

I had to seam the valances at each end because of the width of this window. This seam always bothered me because the daylight really highlighted it:

I recently bought fabric at the Stickley Furniture Sale to make new valances. This is how easy they are to make:
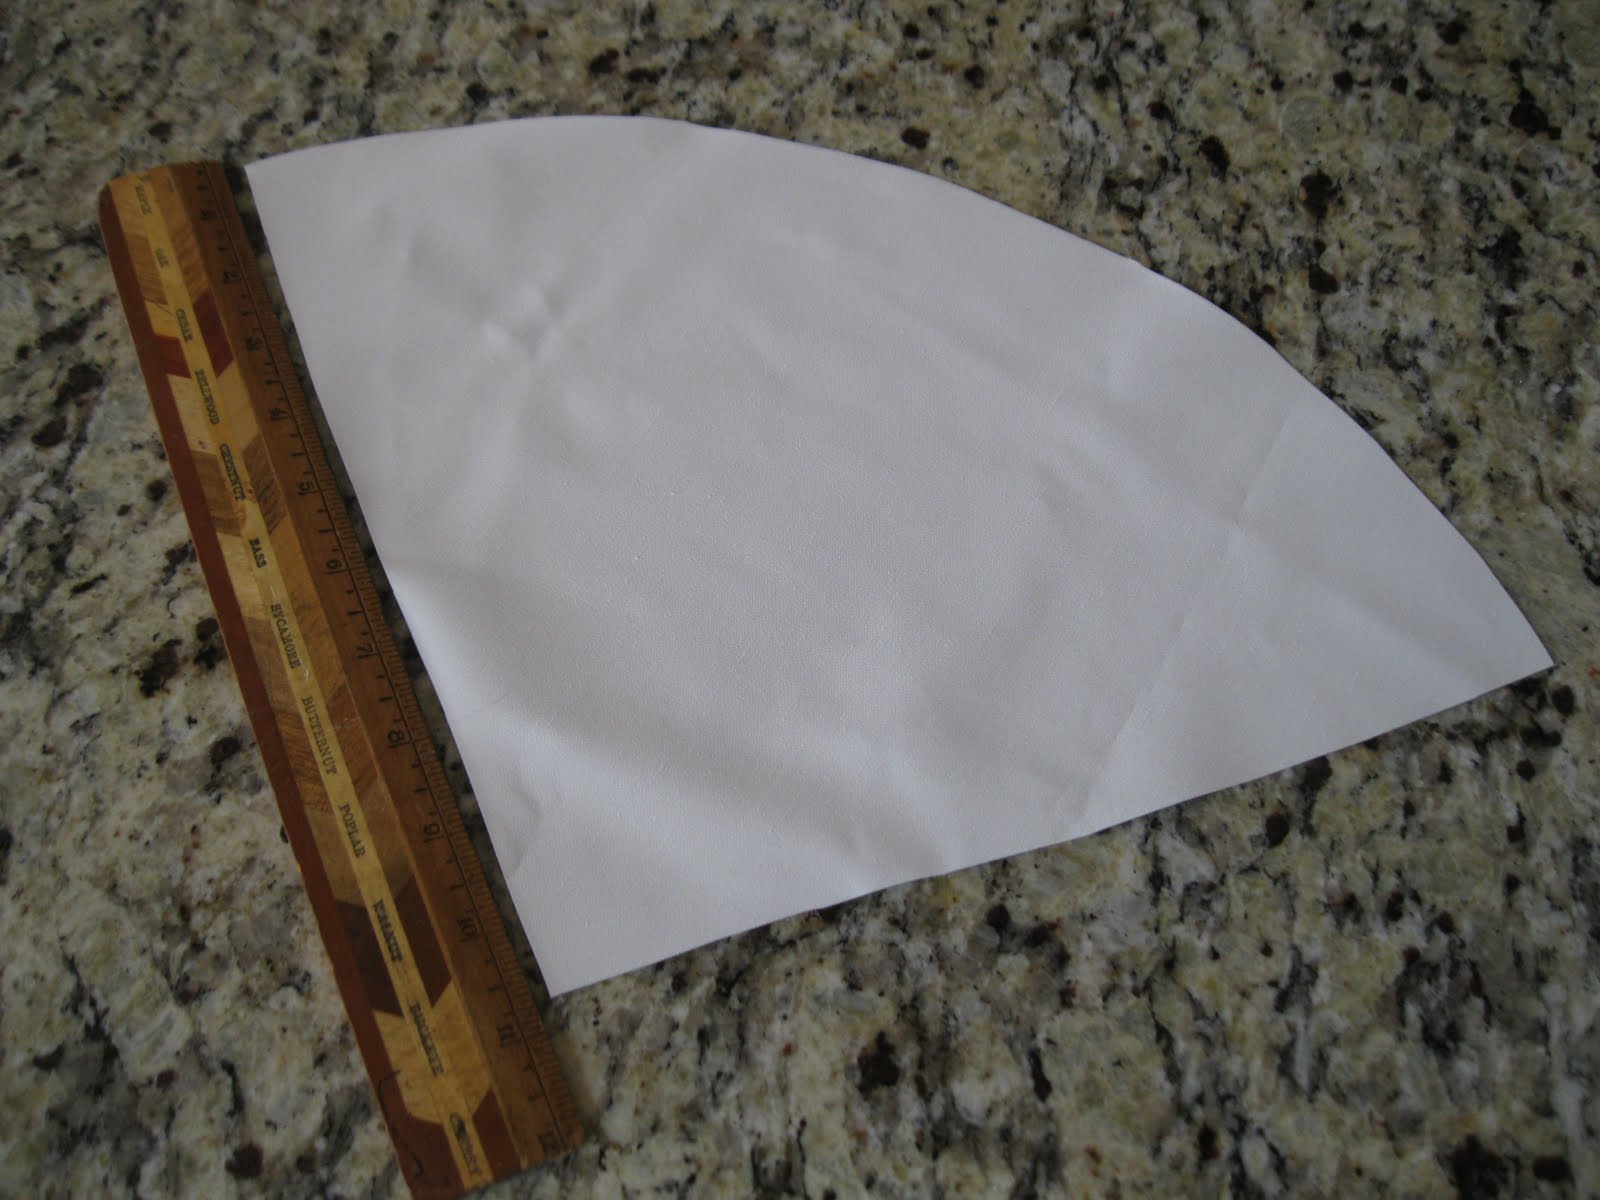
I cut the curved shape out of fabric and lining, about 1.5" wider than window. I stitched the fabrics together and clipped the edges around the curves - this is important! When I see pillows or other things people have sewn on-line, I cringe when they don't fall or hang properly. Clips, snips and pressing is so important in construction of any hand sewn items!

I turned the valances out and pressed them flat:

The trim can be sewn on, however I glue mine - this way I can reuse the trim when I take the valances down (this is the same trim that was on the old valances!) I adhere it with a glue gun:

I bought long thin slats of wood at Home Depot and they are cut the length of the windows (again, I am using the same slats, and you can see the nails are still in the wood) - this way I use the same holes already in the woodwork)

The top of the valances are stapled onto the wood with a regular stapler (because the wood it so thin).

The valances were then hammered back into the original holes:

BUT...then I thought they needed a "connection" to the draperies I made for the sliding glass door...

...so I added a coordinating stripe of drape fabric on the top of the valances:

Much better:

The 2 yds of fabric was only $5.00. I had the lining fabric, reused the wood and fringe - so this was a very thrifty makeover!
Stop by tomorrow to see how well my new MacKenzie-Childs placemats coordinate with the new valances!